Oil-Free Veggie Fried Rice with Peanut Sauce

2018-03-01 01.33.43 1.jpg

Lately, I've been loving this rice and veggie stir-fry. Fried rice was a dish I was pretty sure I would never be able to make taste just as good without oil, but with the right sauce it's actually very possible!

Instead of oil, we fry the vegetables in coconut aminos which adds a wonderful umami flavor. Then the cooked rice is added in along with a savory peanut sauce which makes this dish taste rich without needing any refined oil. 

For this recipe, you can use any kind of whole grain rice you like. I've used wild rice, black rice, brown rice, and even quinoa- all with fantastic results. I think black rice is probably my favorite though, and it's actually the highest in antioxidants too!

Whichever rice or other similar whole grain that you decide to use, the first step is to give it a good rinse and then cook it in your rice cooker. 

IMGL5856.JPG

While the rice is cooking, prepare your veggies. You can use 2-3 cups of whichever finely chopped vegetables you prefer. I usually go for a mix of bell pepper, carrots, broccoli/broccolini, and edamame or peas.

While the variety of those veggies changes a bit each time I make it, I always use chopped green onions and garlic to add more flavor and give it a more authentic restaurant-style fried rice taste.

rice3.jpg

Once you have your veggies chopped, it's time to make the sauce. 

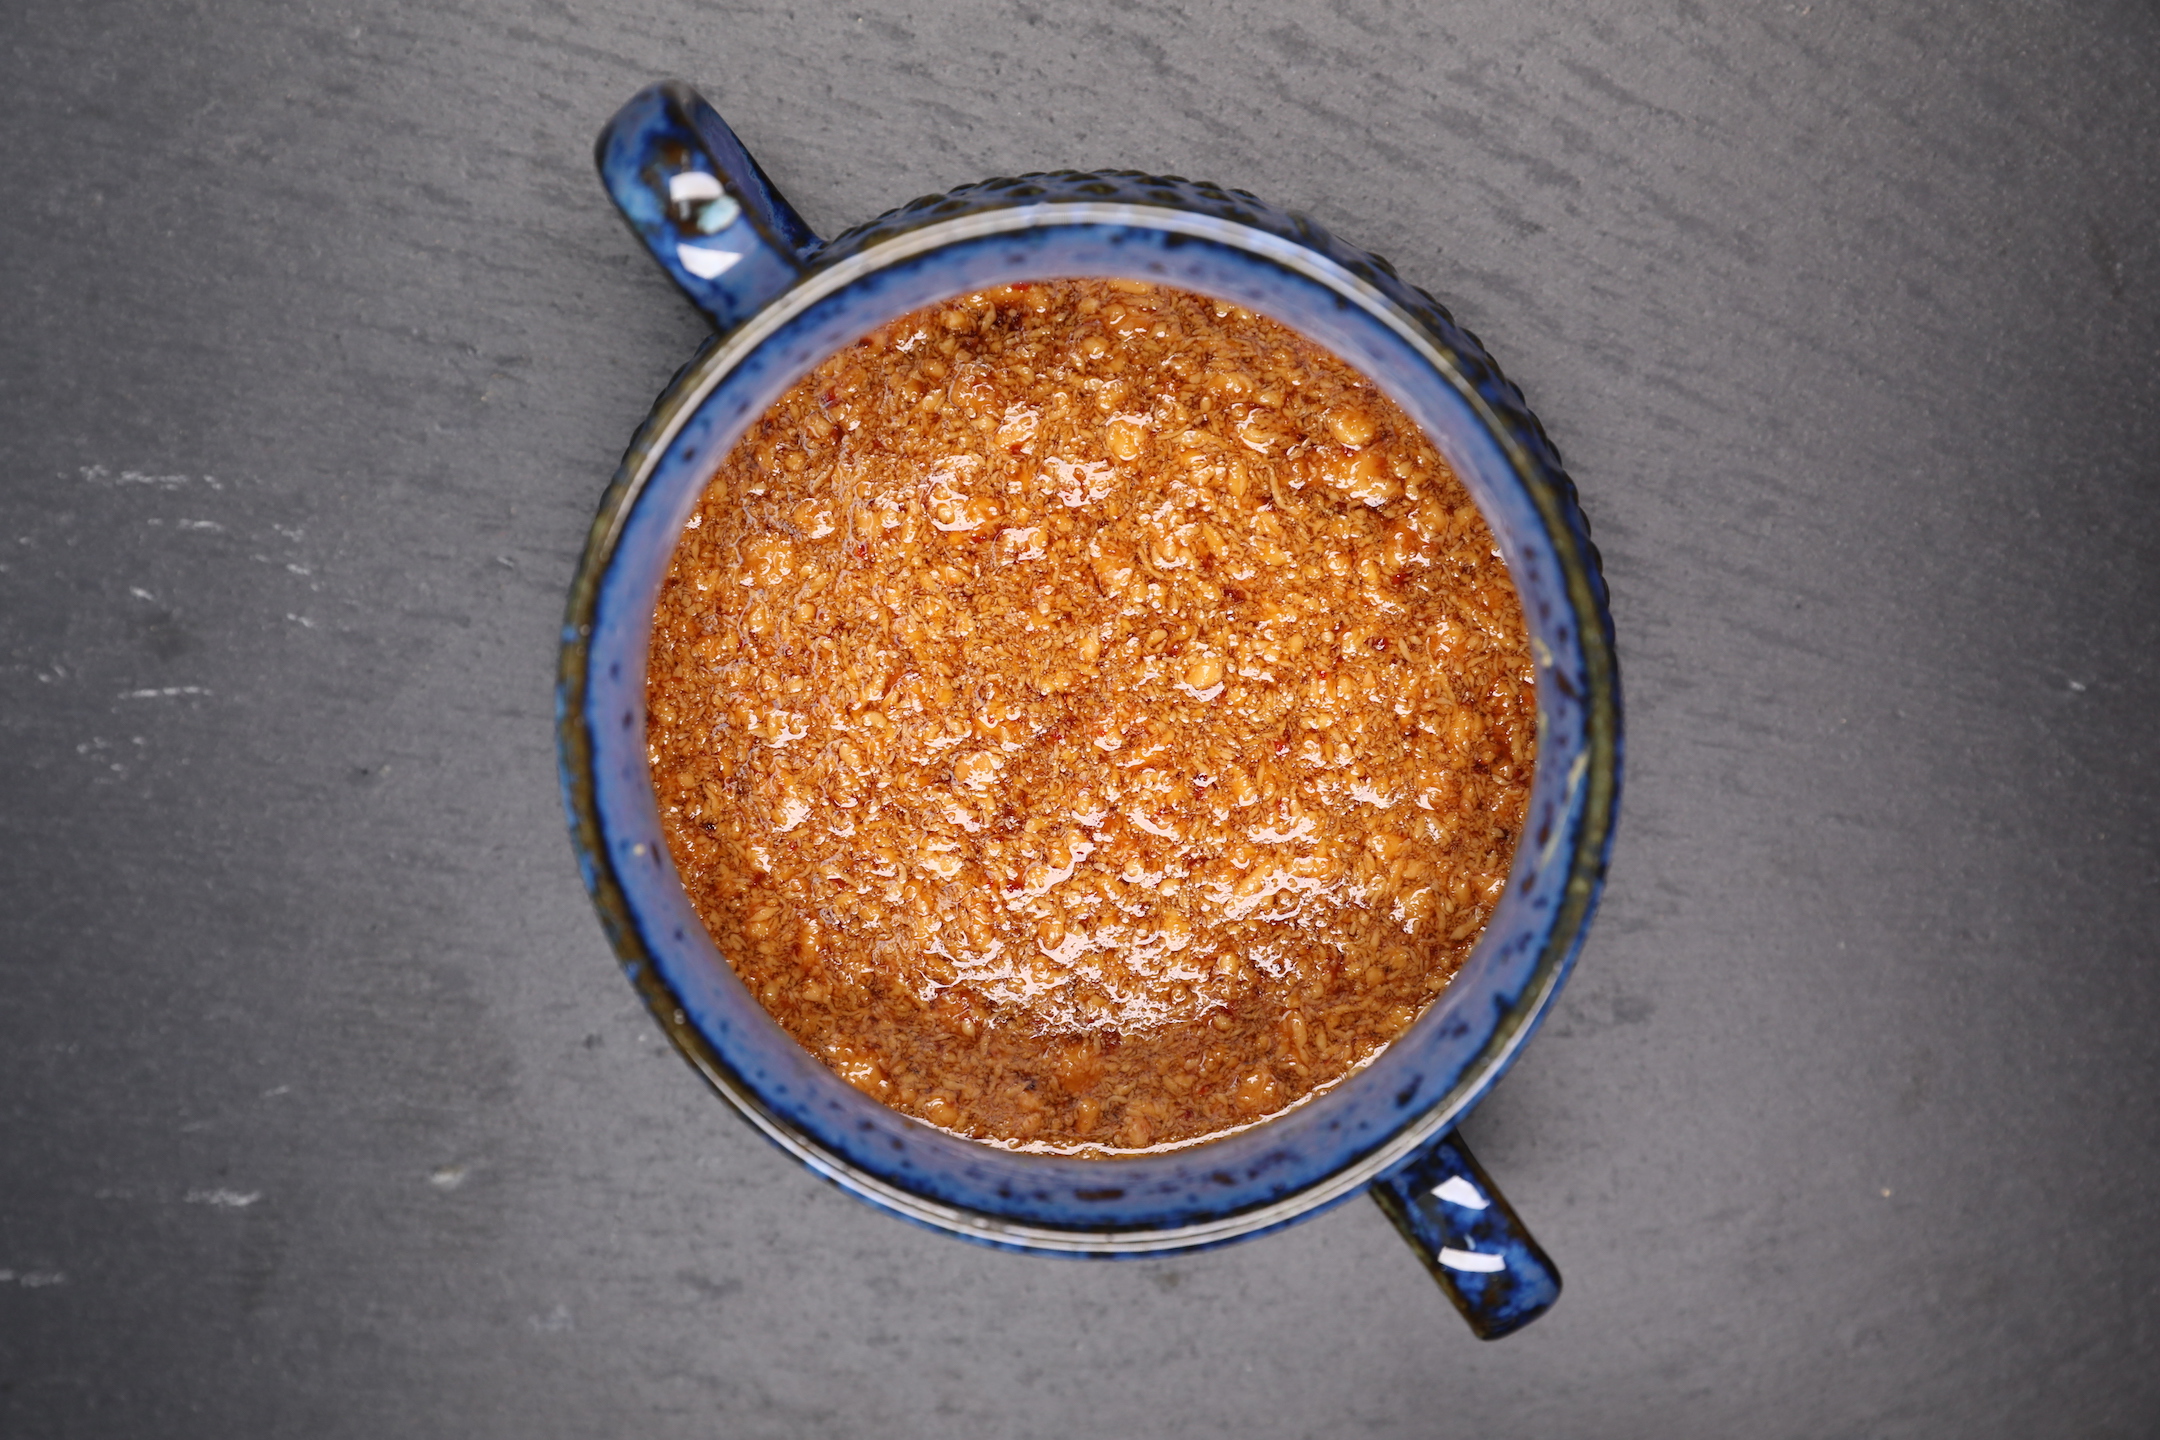
My favorite stir-fry sauce is this spicy & savory peanut sauce. It's a simple mix of coconut aminos (or use low-sodium tamari), peanut butter, hot sauce, and maple syrup. There's no blending required- simply add the ingredients into a small bowl and give it a good stir until creamy. 

IMGL5844.JPG

Now on to the oil-free vegetable frying-

To make the veggies extra savory and avoid having them be soggy, I like to use just a 1/2 tablespoon of coconut aminos in place of oil. 

Once the pan is hot, add the coconut aminos and garlic, cook for a few minutes then and the rest of the veggies. Since they are chopped small, they cook in about 5 minutes. Then, add in the cooked rice followed by the sauce. Stir it all together while the rice cooks with the veggies for another 2-3 minutes. Then add in the green onions at the very end, remove from heat and serve. 

2018-03-01 01.37.05 2.jpg

Let me know if you try out this easy oil-free veggie fried rice recipe, I'd love to hear what you think of it!


Beet Hummus Stuffed Portobello Mushrooms [Vegan, Oil-Free]

2017-12-18 04.39.30 1.jpg

Roasted portobello mushroom caps make a deliciously healthy alternative to the classic hummus and avocado on toast. Don't get me wrong, there's nothing wrong with having hummus on some sliced whole grain bread, but it's a good idea to change things up every so often. Since I make a batch of hummus almost every week, after a few days of having it on toast, I find myself looking for other ways to enjoy it. This time I decided to try stuffing it in a roasted portobello mushroom and it was so tasty! 

My favorite hummus lately has been this vibrant pink beet hummus. The key to making the beets have sweet flavor rather than an earthy bitter flavor is to make sure to use well-cooked beets. Any way you choose to cook them is fine, as long as they are very soft and cooked all the way through. This hummus is so fluffy and easy to blend because we use some of the liquid from the can of chickpeas (aka aquafaba) which becomes really airy when blended making the hummus have a softer whipped texture. I also use a bit more tahini to balance out the flavor of the beets and make the hummus extra savory. 

This recipe takes only slightly more effort then having hummus on toast. The portobello mushrooms are wiped clean, coated in a simple marinade, and then roasted for 10 minutes. Remove the mushrooms from the oven and stuff with hummus, then roast for another 10 minutes, remove from the oven and garnish with whichever toppings you like. 

I hope you enjoy the recipe! 


mushroom.jpg
blend.jpg
hummus.jpg

I used boiled beets so the color of the hummus before it was baked was a light pink color which darkened to hot pink in the oven. If you use roasted beets, the color will be even more vibrant, and will turn dark red when roasted. 

hummus2.jpg


Miso Ramen Veggie-Packed Soup with Tofu and Bok Choy [Oil-Free, Gluten-Free, Vegan]

2017-11-09 05.22.54 1.jpg

This isn't your typical restaurant-style, enjoy-before-your-actual-meal miso soup. This miso ramen recipe is a fully satisfying veggie-packed main course. 

I love miso soup, but I often find myself a little underwhelmed and not quite as satiated as I'd like. Many of the miso soup recipes I've tried in the past have lots of noodles and even tofu but are lacking in the colorful crunchy veggies that make me so happy and satisfied. So I loaded this recipe up with some of my favorite fibrous whole plant foods which made for a miso soup that can actually hold up as it's own full meal. 

Depending on what you currently have going on in your fridge, you can add in whichever veggies you're currently working with. Some of my favorites which I used in this soup included, mushrooms, bok choy, carrots, and purple cabbage. Other veggies that could work well in this might be bell pepper, broccoli, chard, or spinach. 

No matter what veggies you choose what really makes a good miso soup is the broth of course! White miso is a fermented salty paste made from soybeans and gives it that classic miso soup flavor. In addition to that I like to add a little hot sauce and tamari for an extra kick of flavor. 

Something that really ups the wow-factor when serving this is searing the bok choy until it's golden brown. You don't need any oil to make this happen, just slice the bok choy in half the long way and then place it sliced side down in a hot pan, using a wooden spoon to press it down until it get's some color to it. While this isn't necessary, it makes for a beautiful final presentation, but if you're just looking to eat it as fast as possible you can skip this step and rip the bok choy into individual leaves then add it at the end in the last 2 minutes of cooking. 

I hope you enjoy this veggie-loaded miso soup! If you try it out and post a photo, tag me on instagram @herenownutrition or leave a comment down below. 


2017-11-09 05.09.03 1.jpg

Maple Ginger Roasted Kuri Squash Salad Bowl

2017-10-25 08.52.41 1.jpg

If you've never tried squash in a salad before, you're in for a treat! Winter squash are in season right now so I've been adding them into everything I can think of. Having roasted squash in a salad might sound a little strange, but the maple ginger glaze gives the squash a wonderful flavor that's perfectly suited for a salad topping. 

Something about the leaves being bright golden-yellow right now makes me want to try all of the beautiful squash varieties that keep popping up at our grocery store even more. 

kuri2sm-1.jpg

Behold, the kuri squash. It's a lot like a pumpkin but without the ridges and shaped more like a little tear drop. Like some pumpkin varieties, you can actually eat the skin, which makes preparing this squash a whole lot easier. 

I've never particularly enjoyed the dangerous task of slicing into a whole rock hard squash, so I like to give it a good wash then roast it whole for 20 minutes at 400 degrees fahrenheit before even attempting to get a knife in there. This softens the squash enough that it makes it super easy and much more safe to slice. 

Once you have your squash sliced in half, scoop out the seeds then cut into little half moons. 

In a large bowl, make the maple ginger glaze by grating about a tablespoon and half of fresh ginger and mixing it with a bit of maple syrup and some herbs. We won't be using the whole squash for this recipe, so pick out 6-7 pieces to use in the salad and put the rest away for another recipe. 

Dip the squash one piece at a time into the maple ginger glaze until well coated, then place on a silpat or parchment paper lined baking tray. 

squash3.jpg

Roast your sliced and marinated squash slices at 400 degrees until they start to turn golden brown around the edges and fully soften, about 20-25 minutes. 

squash1.jpg

These squash slices are tasty enough to eat on their own, but I love having them in a salad with a creamy dressing. 

In every salad I make I always try to include plenty of whole food starches. Salads with only watery low-carb vegetables are not satisfying at all and you'll be hungry again an hour later. The key to a good salad is always having at least one starchy vegetable, such as squash or potatoes, and always include a bean or legume of some type, such as chickpeas. Whole grains are also a great option to add in if you have time to cook them or have some leftovers, but for this salad I found that the squash and the chickpeas added just the right amount of starchy filling ingredients, so I left the grains out of this one. 

I made a very simple dressing from raw cashew butter, lemon juice, and more maple syrup. I ripped up the roasted ginger glazed squash into bite size pieces and tossed it with some fresh romaine lettuce, purple cabbage, carrots, green onions, and chickpeas. The result was this super creamy and delicious lunch bowl. 

I hope you find a beautiful kuri squash and try out this autumn recipe! Other squashes like pumpkin or kabocha may also work, but I haven't tested them out yet and cooking times may vary. Full recipe below!

salad2 2.jpg